How To Paint A Popcorn Ceiling
If you live in an older home, you likely have a popcorn ceiling. Popcorn ceilings, also known as textured ceilings, were popular in the 1960s and 70s because they were a cheap and easy way to hide imperfections in the ceiling.
However, these days, popcorn ceilings are not as popular, and many people prefer to have a smooth, painted ceiling instead.
If you're one of those people who want to paint their popcorn ceiling, you may be wondering how to go about it.
Painting a popcorn ceiling can be a bit tricky, but with the right tools and techniques, you can get the job done easily and efficiently. In this blog post, we'll walk you through the steps you need to take and how to paint a popcorn ceiling.
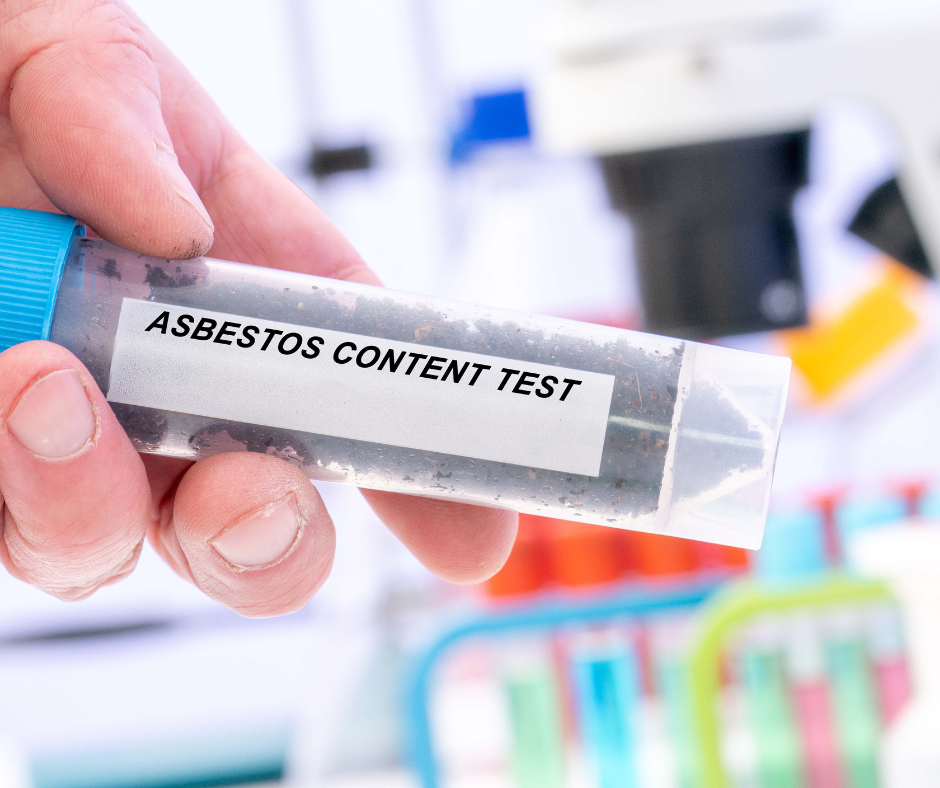
Testing For Asbestos On Popcorn Ceilings
Asbestos can be found in many older homes, and a popcorn ceiling may be one of the places it could have been used. Asbestos is a known carcinogen, so it is important to have any popcorn ceiling tested for asbestos before painting them. Homeowners should contact a certified testing professional to come and test their ceiling; the testing process is typically non-invasive and does not require the removal of any material from the ceiling. If your ceiling tests positive for asbestos, do not attempt to paint it yourself; instead, contact a professional contractor who is trained in removing asbestos from popcorn ceilings.
Note: Homes built after 1978 will not have asbestos in the acoustic ceilings. Once you've determined that there is no asbestos present in your ceiling, you can begin the process of painting it.
Materials You'll Need
Before you get started, you'll need to gather a few materials. Here's a list of what you'll need:
- Ceiling Paint (we recommend using a flat or matte finish paint) Many paint stores stock ceiling paint or flat paint
- Primer (if your ceiling has never been painted before)
- Paint Sprayer
- Paintbrushes (a 2-inch angled brush and a 4-inch flat brush)
- Paint roller (Foam Roller with a ¾ inch nap)
- Roller Screen
- Roller Frame
- Roller extension pole
- Paint tray
- Painter's tape
- Masking Paper
- Drop cloths or plastic sheeting
- Sandpaper (120-grit)
- A vacuum cleaner with a brush attachment
- Respirator mask
- Dust Mask
- Safety glasses
- Stepladder
- Light Fixtures and paint popcorn ceilings with an airless paint sprayer
Step 1: Prep the Room
Before you start painting, you'll want to make sure the room is prepped properly. Remove all furniture from the room, or cover it with drop cloths or plastic sheeting. You'll also want to cover the ceiling lights and floors with drop cloths or plastic sheeting to protect them from any drips or splatters. Use painter's tape to secure the drop cloths or plastic sheeting in place.
Step 2: Clean the Ceiling
Next, you'll want to clean the flat ceilings to remove any dust or dirt that may have accumulated over time. You can use a vacuum cleaner with a brush attachment or feather duster to remove any loose debris from the ceiling. Be sure to wear a respirator mask and safety glasses while doing this to protect yourself from any dust or debris that may fall.
Step 3: Apply Primer (if needed)
If your popcorn ceiling has never been painted before, or if it has any water stains or discoloration, you'll need to apply a coat of primer before you paint. Apply the primer using a 2-inch angled brush to cut in around the edges of the ceiling, and then use an acoustical foam roller cover or airless sprayer to cover the rest. If there is smoke damage or water damage on the popcorn ceilings, you should use a stain-blocking primer to seal these areas. To ensure top-notch results, allow the primer to dry fully before you proceed.
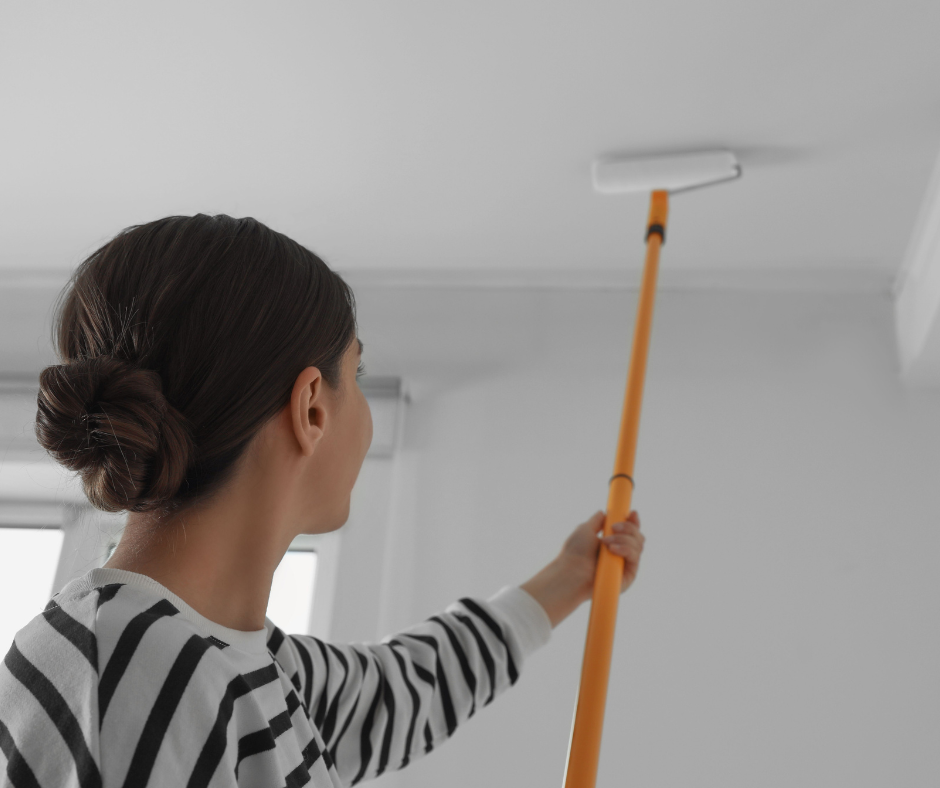
Step 4: Paint the Ceiling
Now it's time to paint the ceiling with a fresh coat of paint. We recommend using flat or matte finish ceiling paint to paint popcorn ceiling, as it will help to minimize the appearance of any imperfections in the ceiling. Start by cutting in around the edges of the ceiling with a 2-inch angled brush. Use long, smooth strokes to create a straight line. Then, use a foam paint roller to apply the paint to the rest of the ceiling. Be sure to use a foam roller that is designed to apply paint to popcorn ceilings, as this will help to ensure an even coat of paint.
When using the roller, start in one corner of the ceiling and work your way across in sections, overlapping each section slightly to avoid leaving any gaps. Use a roller extension pole to reach high areas of the ceiling without having to stand on a stepladder.
One thing to keep in mind while painting a popcorn ceiling is that you should avoid applying too much pressure with the roller or it can cause the texture to come off. To avoid this, apply the paint gently and don't press down too hard on the roller.
Step 5: Let the Paint Dry
After you've finished painting the ceiling, let it dry completely before applying a second coat (if needed). This usually takes about 24 hours, but it's best to check the paint can for specific drying times. Be sure to keep the room well-ventilated while the paint dries.
Step 6: Apply a Second Coat (if needed)
If you feel that the first coat of paint didn't provide enough coverage, or if you simply want a deeper color, you can apply a second coat of paint. Follow the same steps as before, starting with cutting in around the edges of the ceiling with a brush, and then using a roller to apply the paint to the rest of the ceiling. Be sure to let the second coat dry completely before moving on to the next step.
Step 7: Clean Up
After you've finished painting the ceiling and letting it dry, it's time to clean up. Remove any painter's tape and drop cloths or plastic sheeting. Clean your paintbrushes and roller with soap and water or the recommended cleaner for the type of paint you used. If you have any leftover paint, store it properly for future touch-ups.
Tips for Painting a Popcorn Ceiling
- Wear protective gear such as a respirator mask and safety glasses while painting to protect yourself from any dust or debris that may fall.
- Painting popcorn ceilings with interior acrylic latex paint will have the best results.
- Use a light touch when applying the paint to flat ceilings to avoid damaging the popcorn texture.
- Avoid applying too much paint to the popcorn ceiling.
- If your popcorn ceiling has been painted before, consider using a flat ceiling paint with a low sheen or gloss to help minimize the appearance of imperfections in the texture.
- Don't try to scrape off or remove the popcorn texture before painting. This can be a messy and time-consuming process, and can also damage the ceiling.
- If you're unsure about painting a popcorn ceiling, consider hiring a professional painter who has experience with this type of ceiling.
Conclusion
Painting popcorn ceiling texture can be a bit intimidating, but with the right tools and techniques, it can be done easily and efficiently. Preparing the room properly, cleaning the ceiling, applying primer (if needed), and using the right type of paint and brushes are all keys to achieving a successful result. By following these steps and tips, you can transform your popcorn ceiling into a fresh, updated space.
FAQ's
Where Can I Buy Paint for a Popcorn Ceiling?
When it comes to painting a popcorn ceiling, finding the right type of paint is crucial. Homeowners will want to look for flat ceiling paint with either a low sheen or gloss so that any imperfections in the texture are minimized. Fortunately, there are many places where homeowners can find this type of paint, including home improvement stores, hardware stores, and even online retailers. When shopping for ceiling paint for popcorn ceilings, it's important to read the label carefully and make sure that it is designed specifically for textured surfaces like popcorn ceilings. With the right kind of paint on hand, homeowners can easily transform their popcorn ceilings into an updated space with just a few simple steps.
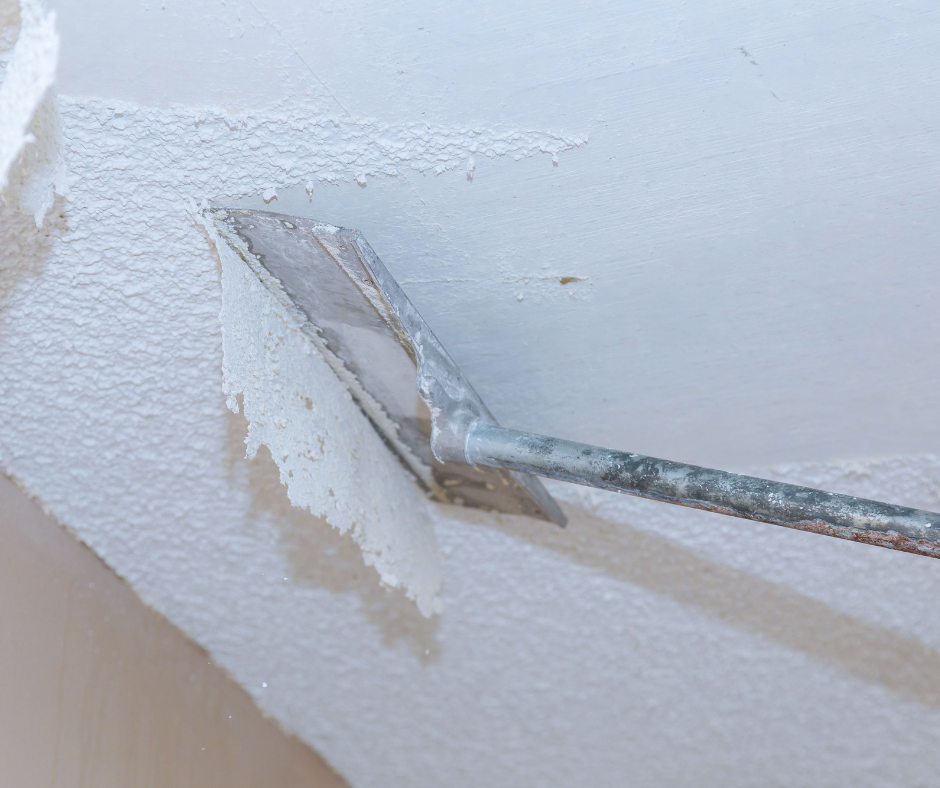
How to Remove Popcorn Texture?
Removing popcorn texture from a ceiling can be an intimidating task, but with the right preparation and tools, it can be done quickly and easily. The most important step is wetting the ceiling before you begin to remove the texture; this will help contain any mess or dust that may result while working on your project. Additionally, using a wide putty knife or drywall taping knife works best for scraping off popcorn ceilings as they are specifically designed to work around curves and contours of textured surfaces. Furthermore, using plastic drop cloths under your work area is also helpful in containing the additional mess in the entire room. With these tips in mind, you’ll have no problem making sure your popcorn ceiling removal goes smoothly!
Can I hire someone for popcorn ceiling removal?
If you’re looking for a way to quickly and efficiently remove texture from your popcorn ceiling, hiring a professional painting contractor may be the best option. Professional painters are experienced in dealing with textured surfaces like popcorn ceilings, so they can provide an effective solution that will get the job done right. They also have access to specialized tools and supplies needed for removing texture from a popcorn ceiling, such as wide putty knives or drywall taping knives, and plastic drop cloths. Plus, having someone else take care of the task means you don’t have to worry about making any messes or dealing with potentially hazardous dust particles while trying to do it yourself. So if you want reliable results without all the hassle, consider hiring a professional painter for your popcorn ceiling removal project!
Thank you for reading our blog on how to paint a popcorn ceiling. We encourage you to check out our other blogs on our house painting tips that might be helpful for your other house painting projects.